How to Plan an Outdoor Living Space That Actually Gets Used
A practical planning method: zoning, circulation, seat counts, budget bands and the order of works.
Most unused terraces fail for the same three reasons: no shade where people want to sit, a walking route that cuts straight through the seating, and a kitchen too far from the table. None of those are budget problems. They're planning problems, and they're all solvable on paper before anything is ordered.
Here is the sequence we work through with every client, in order.
Step 1 — Map the sun, hour by hour
Before layout, we plot shade across the plot at 10am, 2pm, 6pm and 9pm in both July and January. Almost every important decision falls out of that single exercise: where the dining table goes, where the loungers go, where the fire lives, and how much structure you need to build.
Step 2 — Fix circulation before furniture
Draw the routes first: house to pool, kitchen to table, gate to front door, pool to towels and shower. Keep every route at least 1.2m wide and never let one pass between a sofa and its view. Furniture then fills what's left, and the terrace stops feeling like a corridor.
Step 3 — Count the seats honestly
Owners routinely design for the largest party they'll host twice a year and end up with a terrace that feels empty on the other 363 evenings. We size for the everyday number — often four to six — and design in a way to expand: a bench that extends the dining run, a fire lounge that can absorb an overflow, a bar that takes standing guests.
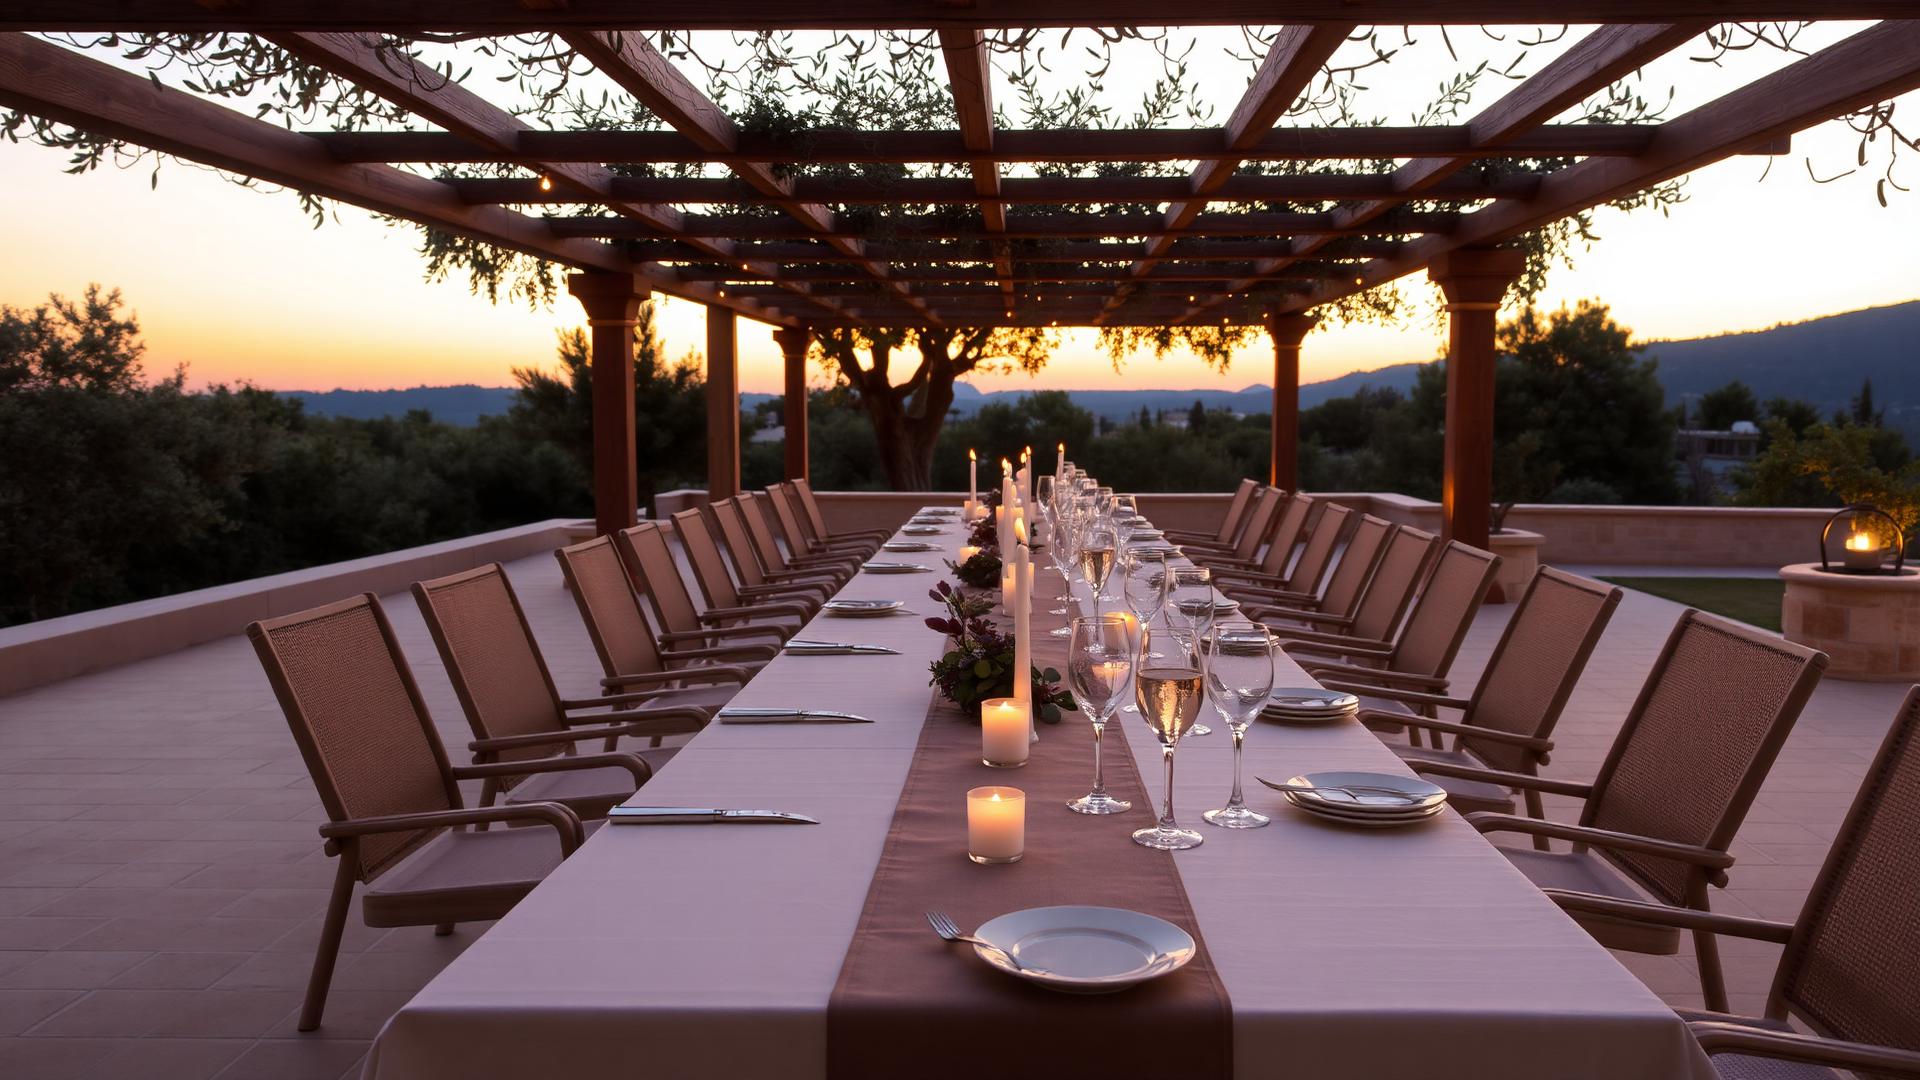
- Dining: 70cm of table edge per guest, 90cm clearance behind each chair
- Lounge: a 2.4m coffee table zone comfortably seats six
- Bar: 95cm counter height with stools invites lingering; 110cm keeps guests standing
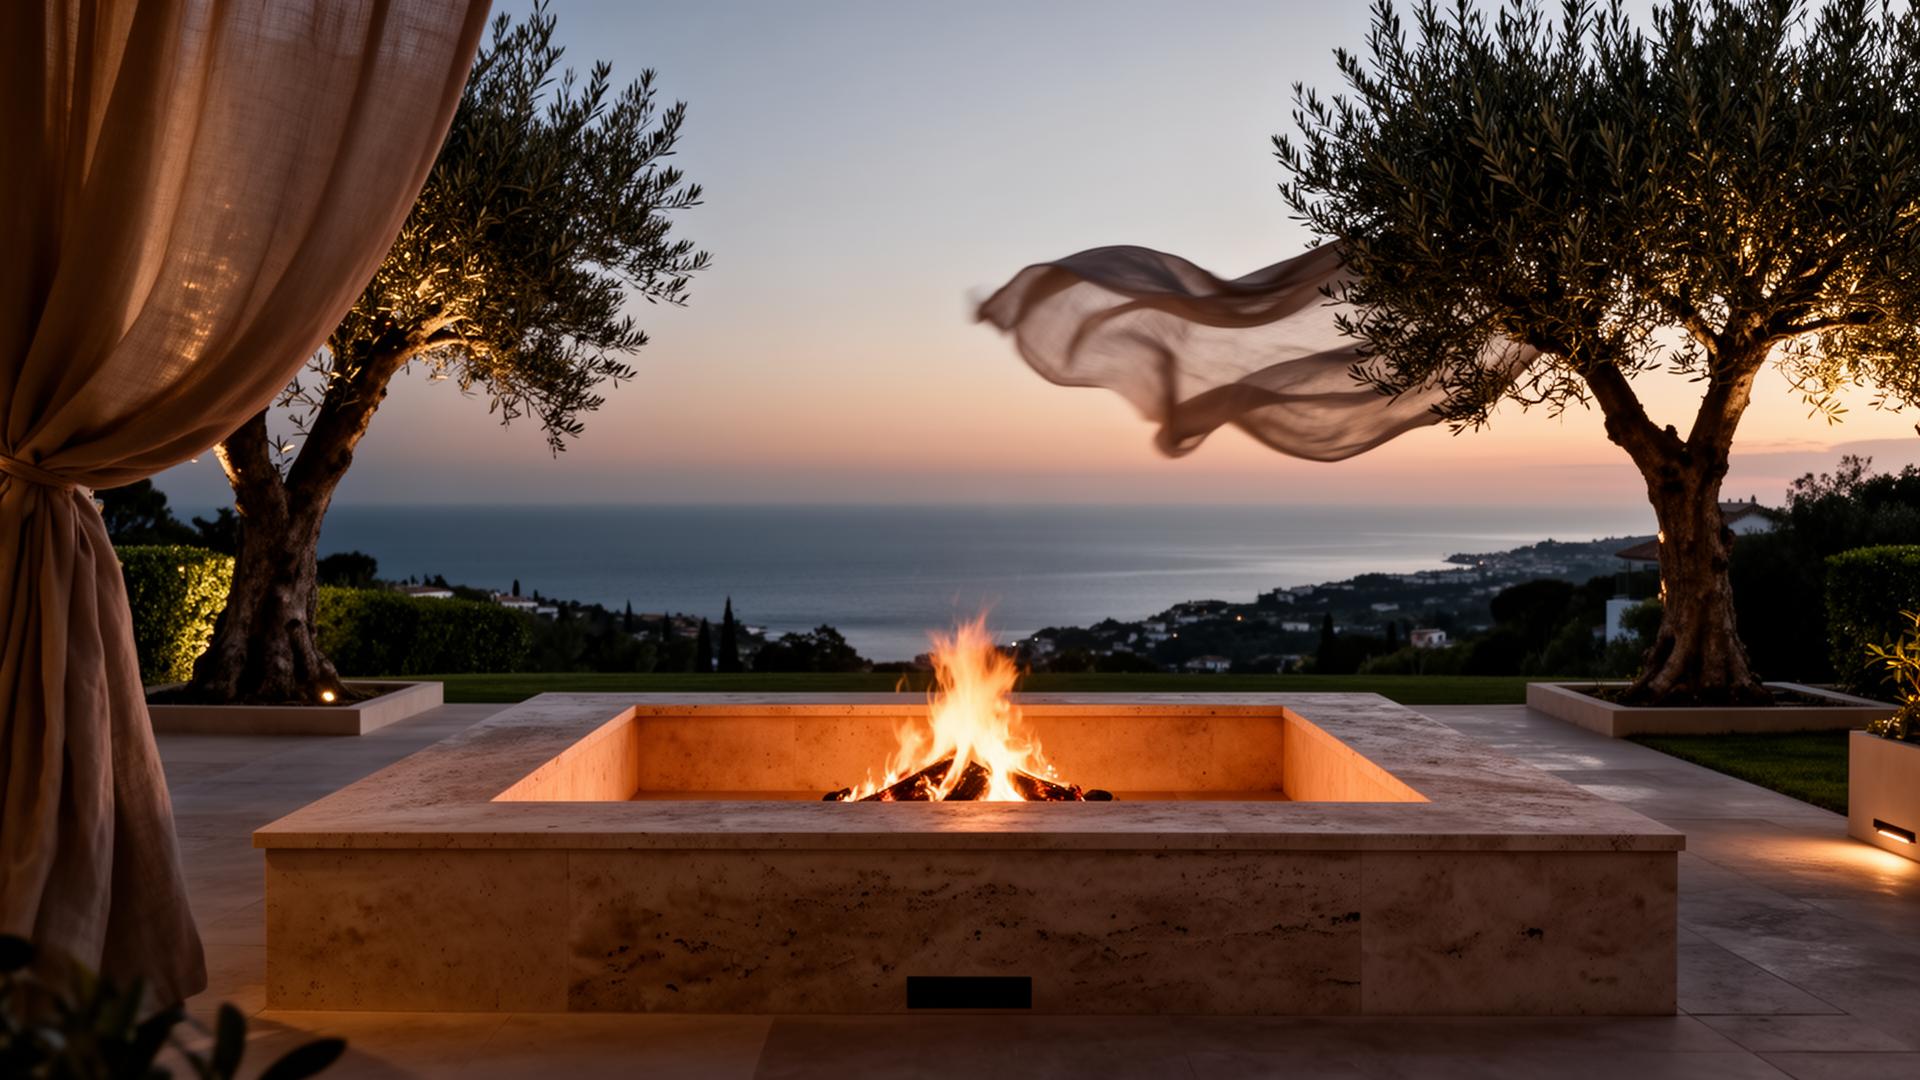
- Fire: a 1.8m diameter seating circle is the limit for a single conversation
Step 4 — Decide what is fixed and what is furniture
Built-in elements — kitchens, benches, fire tables, planters — buy you space and permanence but commit you to a layout. Loose furniture keeps flexibility but eats floor area and needs winter storage. Our rule of thumb: build in anything that touches services (water, gas, electricity, drainage) and keep everything else movable.
Step 5 — Set budget bands early
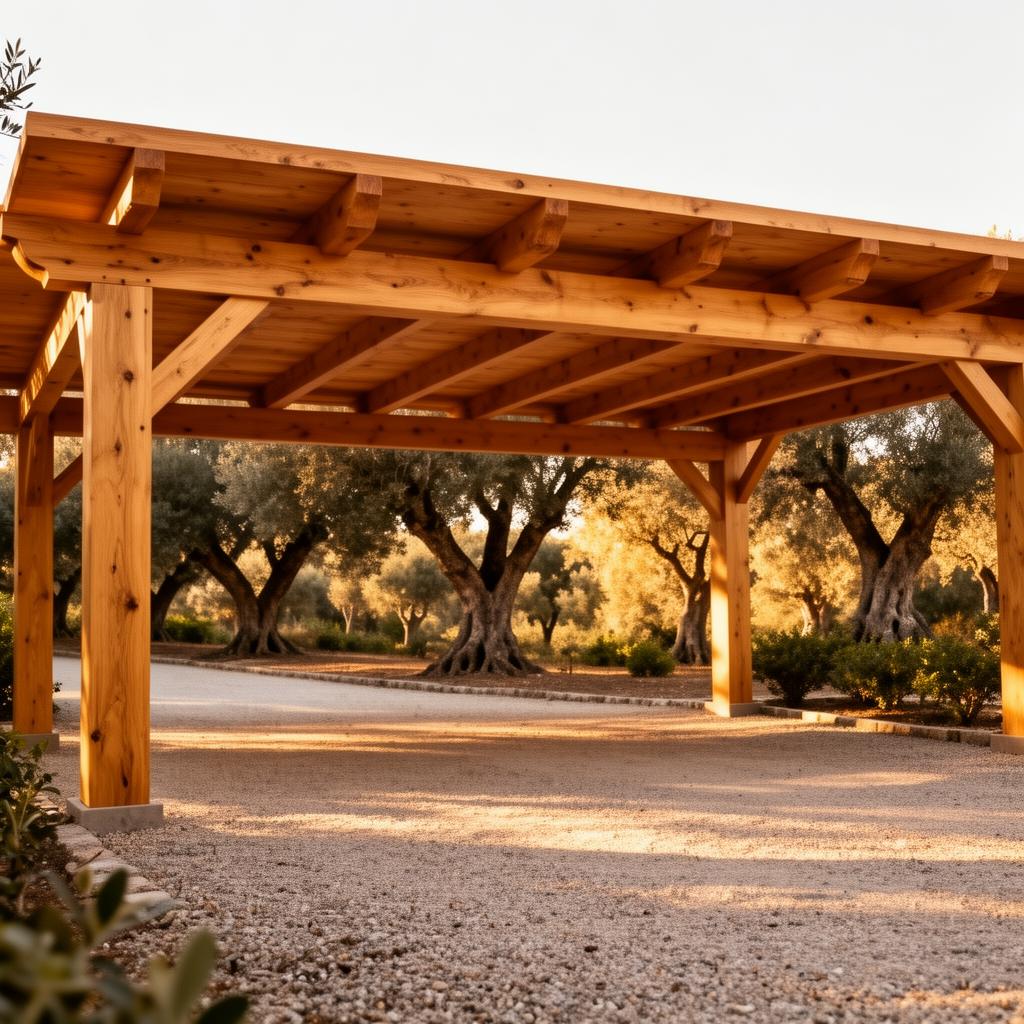
It is far easier to design to a band than to value-engineer afterwards. As a broad guide on this coast, a well-built outdoor kitchen with stone counters, cold storage and a serious grill sits in the mid five figures; a hand-cut oak pergola of meaningful span similar; a full terrace remodel with paving, planting, lighting and irrigation runs considerably higher and is dominated by groundworks.
The line items owners most often regret cutting are lighting design, irrigation and drainage — all invisible, all extremely expensive to retrofit under finished stone.
Step 6 — Follow the order of works
Groundworks and drainage, then services and conduit, then structures, then paving, then planting and irrigation, then lighting commissioning, then furniture. Every project that goes wrong on this coast goes wrong because something on that list happened out of order — usually paving before conduit.
Common questions
- How long does an outdoor living project take on the Costa del Sol?
- A built-in kitchen or pergola typically runs six to ten weeks on site once designed and licensed. A full terrace remodel with groundworks, paving, planting and lighting is more commonly three to five months, plus licensing time beforehand.
- What should I spend money on first in an outdoor space?
- The invisible layers — drainage, irrigation and lighting conduit — followed by shade. They are inexpensive during groundworks and disproportionately expensive to retrofit once stone is laid.
- How much space do I need for an outdoor dining area?
- Allow 70cm of table edge per guest and 90cm of clearance behind each chair, plus a circulation route of at least 1.2m that does not pass through the seating.
Planning something similar?
Book a free design consultation.
Thirty minutes with our design team — no obligation, no charge.
Book your consultation →